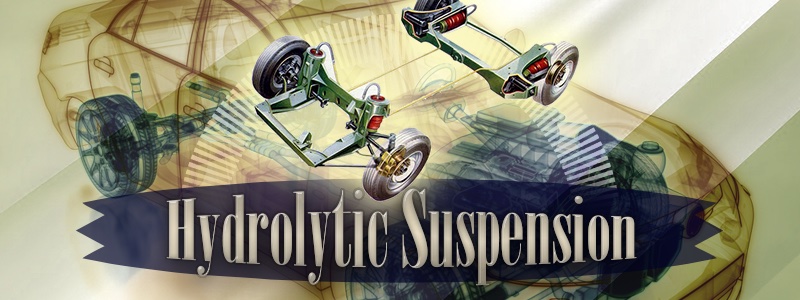
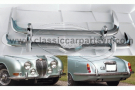
Hydrolastic Suspension Systems
Hydrolastic suspension is a "fluid" system that was used on a number of Morris 1100 derivatives, Morris 1800s, Leyland Minis between 1964 and 1971 and Wolseley 18/85s. The system used fluid displacer units fitted to each wheel. The front and rear units were connected so that the front and rear nearside form one connected pair and the front and rear offside form another connected pair. The units were made from sheet-steel and rubber. Each unit consisted of an upper and lower chamber housing containing a diaphragm, reinforced by nylon, and a compressed conical rubber spring. The units were filled with a mixture of alcohol, water and additives to prevent corrosion. A valve in the top of the fluid separating chamber replaced the conventional damper of other systems. When either wheel on one side of the car hit a bump in the road, the fluid was displaced and caused the unit on the other wheel to react. In this way a bump at the front made the rear of the car rise to a corresponding height and the car always remained level. If either or both front wings permanently sit lower than the specified trim height, either the front units themselves or the pipes connecting the front and rear systems may be blocked.
Faulty Hydrolastic Suspension
Hydrolastic suspension can be overhauled only after the system has been de-pressurized. This needs specialized tools that are usually unobtainable for the DIY mechanic. There are two alternatives for carrying out DIY work. You may either have a garage de-pressurize the system then drive the car home flat. Or, preferably, you can have the system de-pressurized at a garage that will allow you to do the work there. There is no way that the system can be de-pressurized without the special machine. Once this has been done, you can begin the work of removing the units.
Removing Front Displacer Units
To remove the front displacer units, first support the car on axle stands and remove the front wheels. Disconnect the battery. On some cars, particularly the Leyland 1100 and Wolseley 18/85, you will have to remove the flexible hose and caliper of the brake system. To do this first slacken the bleed screw and drain the hydraulic fluid from the brake pipe. Then unscrew the metal pipe union nut from where it connects to the hose. There is a hexagon on the hose; hold this with a spanner and unscrew the attachment nut and washer. Withdraw the hose from the mounting bracket on the chassis. Unscrew the flexible hydraulic hose from the brake cylinder and disconnect it. Next disconnect the caliper unit from the front hub by unbolting it and lifting it away. Wire the caliper up out of the way and take care not to depress the brake pedal, as this would have the effect of forcing the pistons out of the caliper.
On the Mini, the brake system does not have to be disconnected. You can now proceed with removing the unit. First detach the dust seal from the displacer strut and take out the strut. Then disconnect the displacer fluid hose union on the engine bulkhead and remove the top suspension swivel arm. Next, push the displacer unit upwards in the subframe tower and undo the two screws which hold it to the bracket. The displacer unit can then be removed from the tower by twisting it anticlockwise and lifting it out. The unit can then be taken to a specialist for inspection and repair.
Fitting New Front Displacer Units
Fitting a new front displacer unit is the reverse of removal. Some older models have special seating rings not fitted to newer units. When buying new displacer units take care to state not only the make and model of your car but also the exact year of manufacture. Check the interconnecting pipes before fitting the displacer unit and then have the garage re-pressurize the system. Use Dextragrease Super G.P. or an equivalent lubricant such as Castrol LM, on the displacer unit seat when re-fitting.
Blocked Interconnector Pipe
The fault may lie in a blockage of the interconnecting pipe joining the front and rear displacer units. To check for this, remove the pipe and blow through it. If the pipe is blocked, it may be necessary to blow air through it from a compressed air source such as a garage tyre pump. If this fails to clear it buy a new pipe. When you have removed any blockages or bought a replacement pipe, re-fit the new pipe to the system, which is a simple reversal of the removal procedure, and then have a garage re-pressurize it. |