Condensation and Moisture
Spring and Winter are the seasons of the year when damp weather causes engine starting difficulties for many motoring enthusiasts - particularly those with older cars that tend to be a little more temperamental. Even the best maintained
engines that apparently have nothing wrong with them just don't want to start. Some older cars are more readily influenced by the presence of moisture and dampness than others. However, wet ignition parts can be the cause of starting difficulties on any
engine.
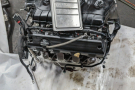
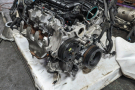
The reason the engine won't start under these conditions is that the damp, moisture-saturated air condenses into water on the cold parts of the engine just as it does on the cold window panes in a home. A high voltage current is developed by the ignition coil and is needed at the spark plugs to start and run the engine. When this current tries to flow to the spark plugs, as the engine is cranked, it finds it much easier to escape from its proper channels over any convenient water-soaked path. Because of this loss of current, the spark plugs do not fire and the engine cannot start. Persistent cranking only serves to run the battery down.
The call for a mechanic or a tow truck, the expense of the service call, the lost time and the lost temper can all be saved with a little know-how, a few minutes of time and a dry cloth. Performing this simple procedure should have an engine running in about 10 minutes. Use a clean, soft, lint-free cloth that readily absorbs water. Keep turning the cloth from time to time so that each part will be reasonably dried. Follow this procedure step by step:
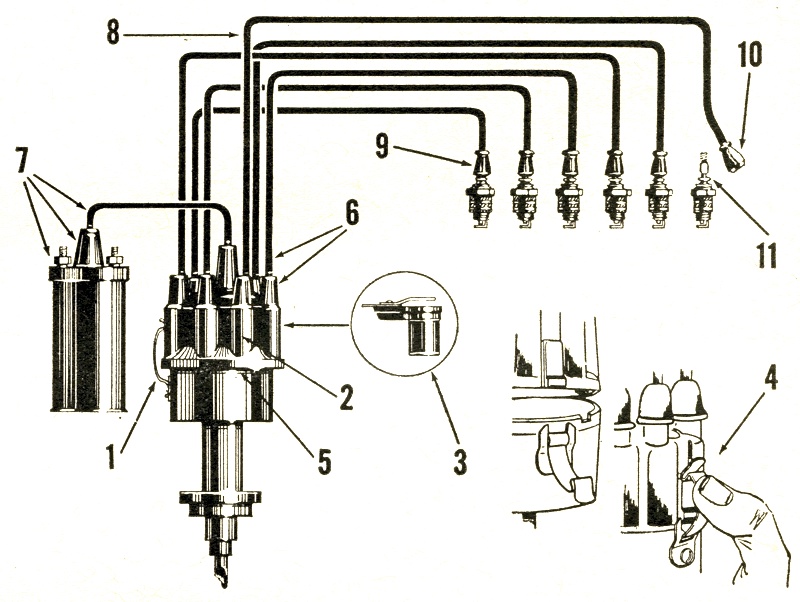
- Loosen the two spring clips securing the distributor cap, using thumbnail or a screwdriver blade. Lift the cap straight up from the distributor.
- Turn the cap upside down and carefully wipe the inside of the cap dry.
- Wipe the distributor rotor dry without removing it. Be careful not to bend or damage the spring located on the top of the rotor.
- Place the cap back on the distributor making sure the tang on the cap is properly seated in the notch of the distributor. The cap will only seat in this one position. Then snap the two spring clips to hold the cap.
- Wipe the top of the cap as dry as possible.
- Press each spark plug cable down firmly into its cap tower. Then make sure each rubber boot is pressed down so that it is firmly seated.
- Wipe the tower of the coil and the short lead from the coil to the center of the distributor cap. Press the coil cable down firmly into the coil tower and the distributor cap tower. Press the rubber boot at each end of the coil lead down firmly.
- Wipe each spark plug cable from the distributor cap to the spark plug.
- Wipe the rubber boot covering each spark plug.
- Grasp one spark plug rubber, twist it slightly, then pull the cable straight off the spark plug.
- Wipe the spark plug insulator dry. Then replace the plug cable and boot. Make sure the cable and boot are pressed down firmly on the spark plug.
- Wipe each spark plug in turn, disconnecting and replacing only one cable at a time.
Now start the engine and give it enough throttle to keep it running, even if it runs roughly. The heat generated by the running engine will serve to dry off the remaining moisture so that normal engine operation will be quickly restored. This simple operation will get a driver on his way quickly, without expense or much delay. Here are some don'ts that are occasionally applied, mistakenly, to starting "damped out" engines:
- Don't continue to crank the engine for prolonged periods. If the engine does not start presently, it is a good indication that it isn't going to start at all. Continuous cranking only runs the battery down.
- Don't remove the spark plugs for cleaning or drying. This is not necessary. Just dry insulators (Step 11).
- Don't try to dry the distributor points by inserting the cloth, or any other material, between the points. The contact surfaces of the points are generally rather rough due to the local pitting action that takes place during normal engine operation and these rough pits can tear microscopic pieces of lint from the cloth. This lint will insulate the points from each other and prevent the engine from being started.
- Don't remove more than one spark plug cable at a time. This will insure that each cable will be put back on the same spark plug from which it was taken.
- Don't try to start the engine with a booster battery or by a push start until the moisture, which is the real cause of the trouble, is removed. Persistent cranking or vehicle pushing will only flood the engine with fuel and make starting even more difficult. Dry the parts, step-by-step as recommended, and the engine will start as usual.
The confidence that will come with this basic knowledge will add materially to motoring pleasure and convenience.
Also see: How To Get Your Engine Running |
How To Fix A Spluttering Engine